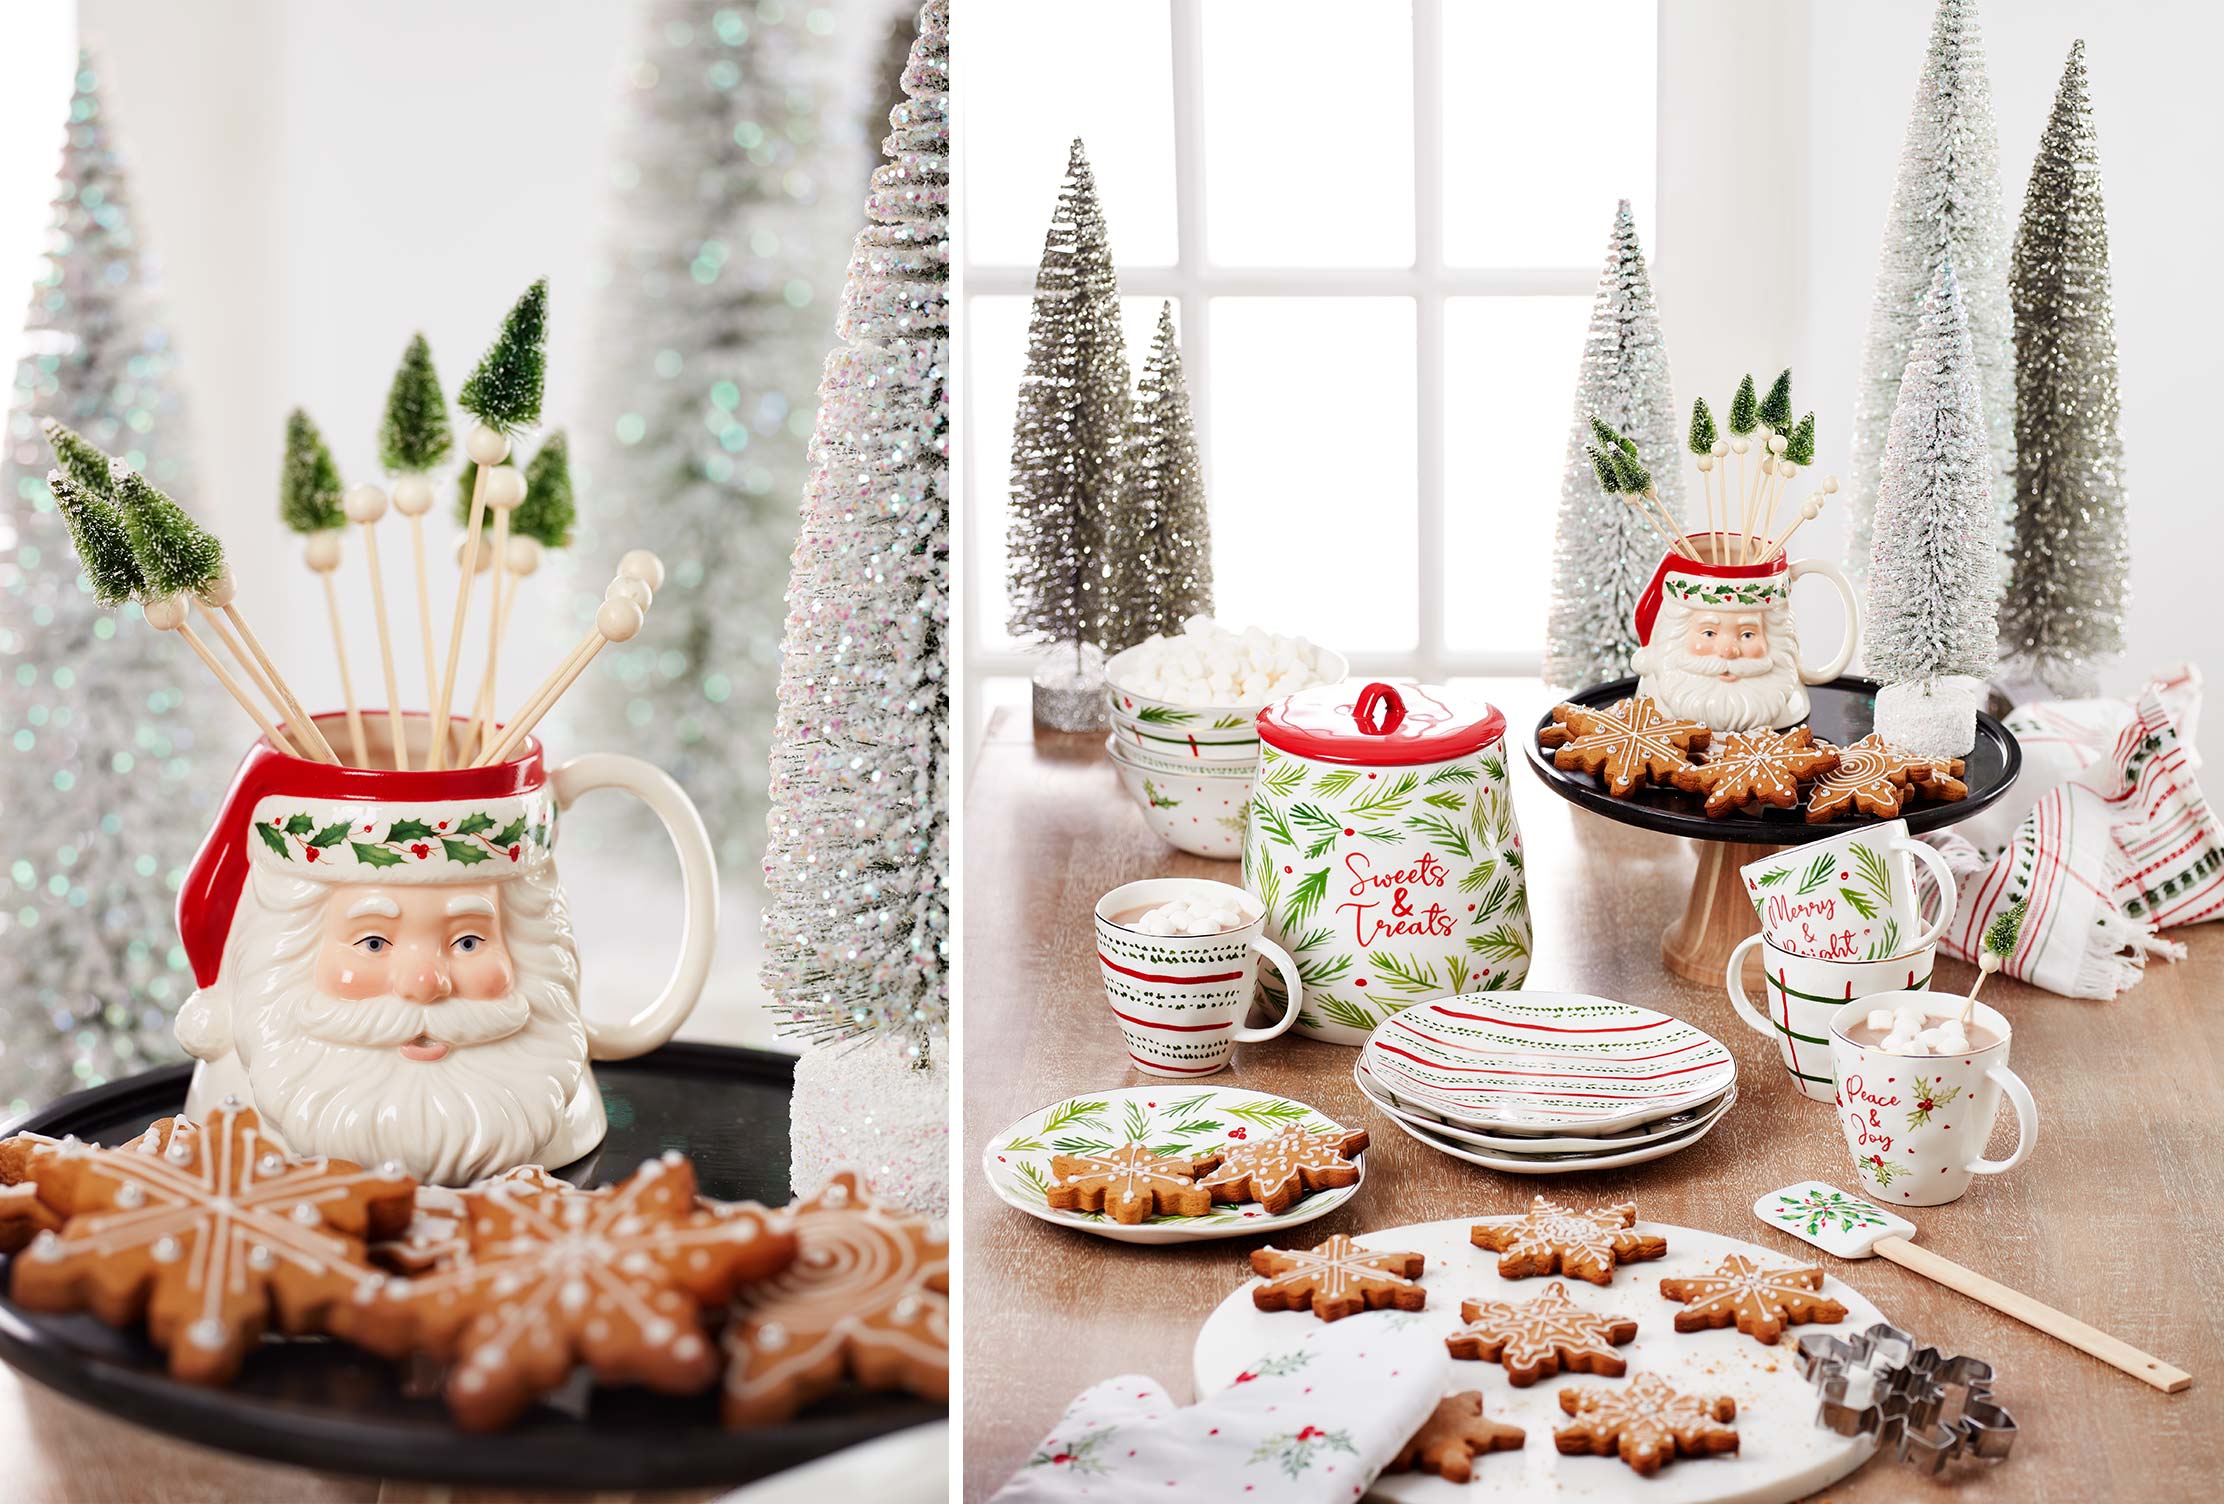
When it comes to holiday cookies, there’s just one question to ask yourself: to bake, or not to bake? The good news is whether time’s on your side or your December’s planned down to the last detail, you can easily win the cookie exchange…and show Santa much-deserved hospitality. We’re sharing two of our favorite Christmas cookie recipes, one for seasoned bakers who love to express their culinary creativity, and one that’s just as creative but also quick, easy…and cute! Whichever you choose, our Bayberry and Holiday collections make the experience all the merrier. Pro-tip, pick a sophisticated cake plate to show off your good work!
Easy: Reindeer Oreo Cookies
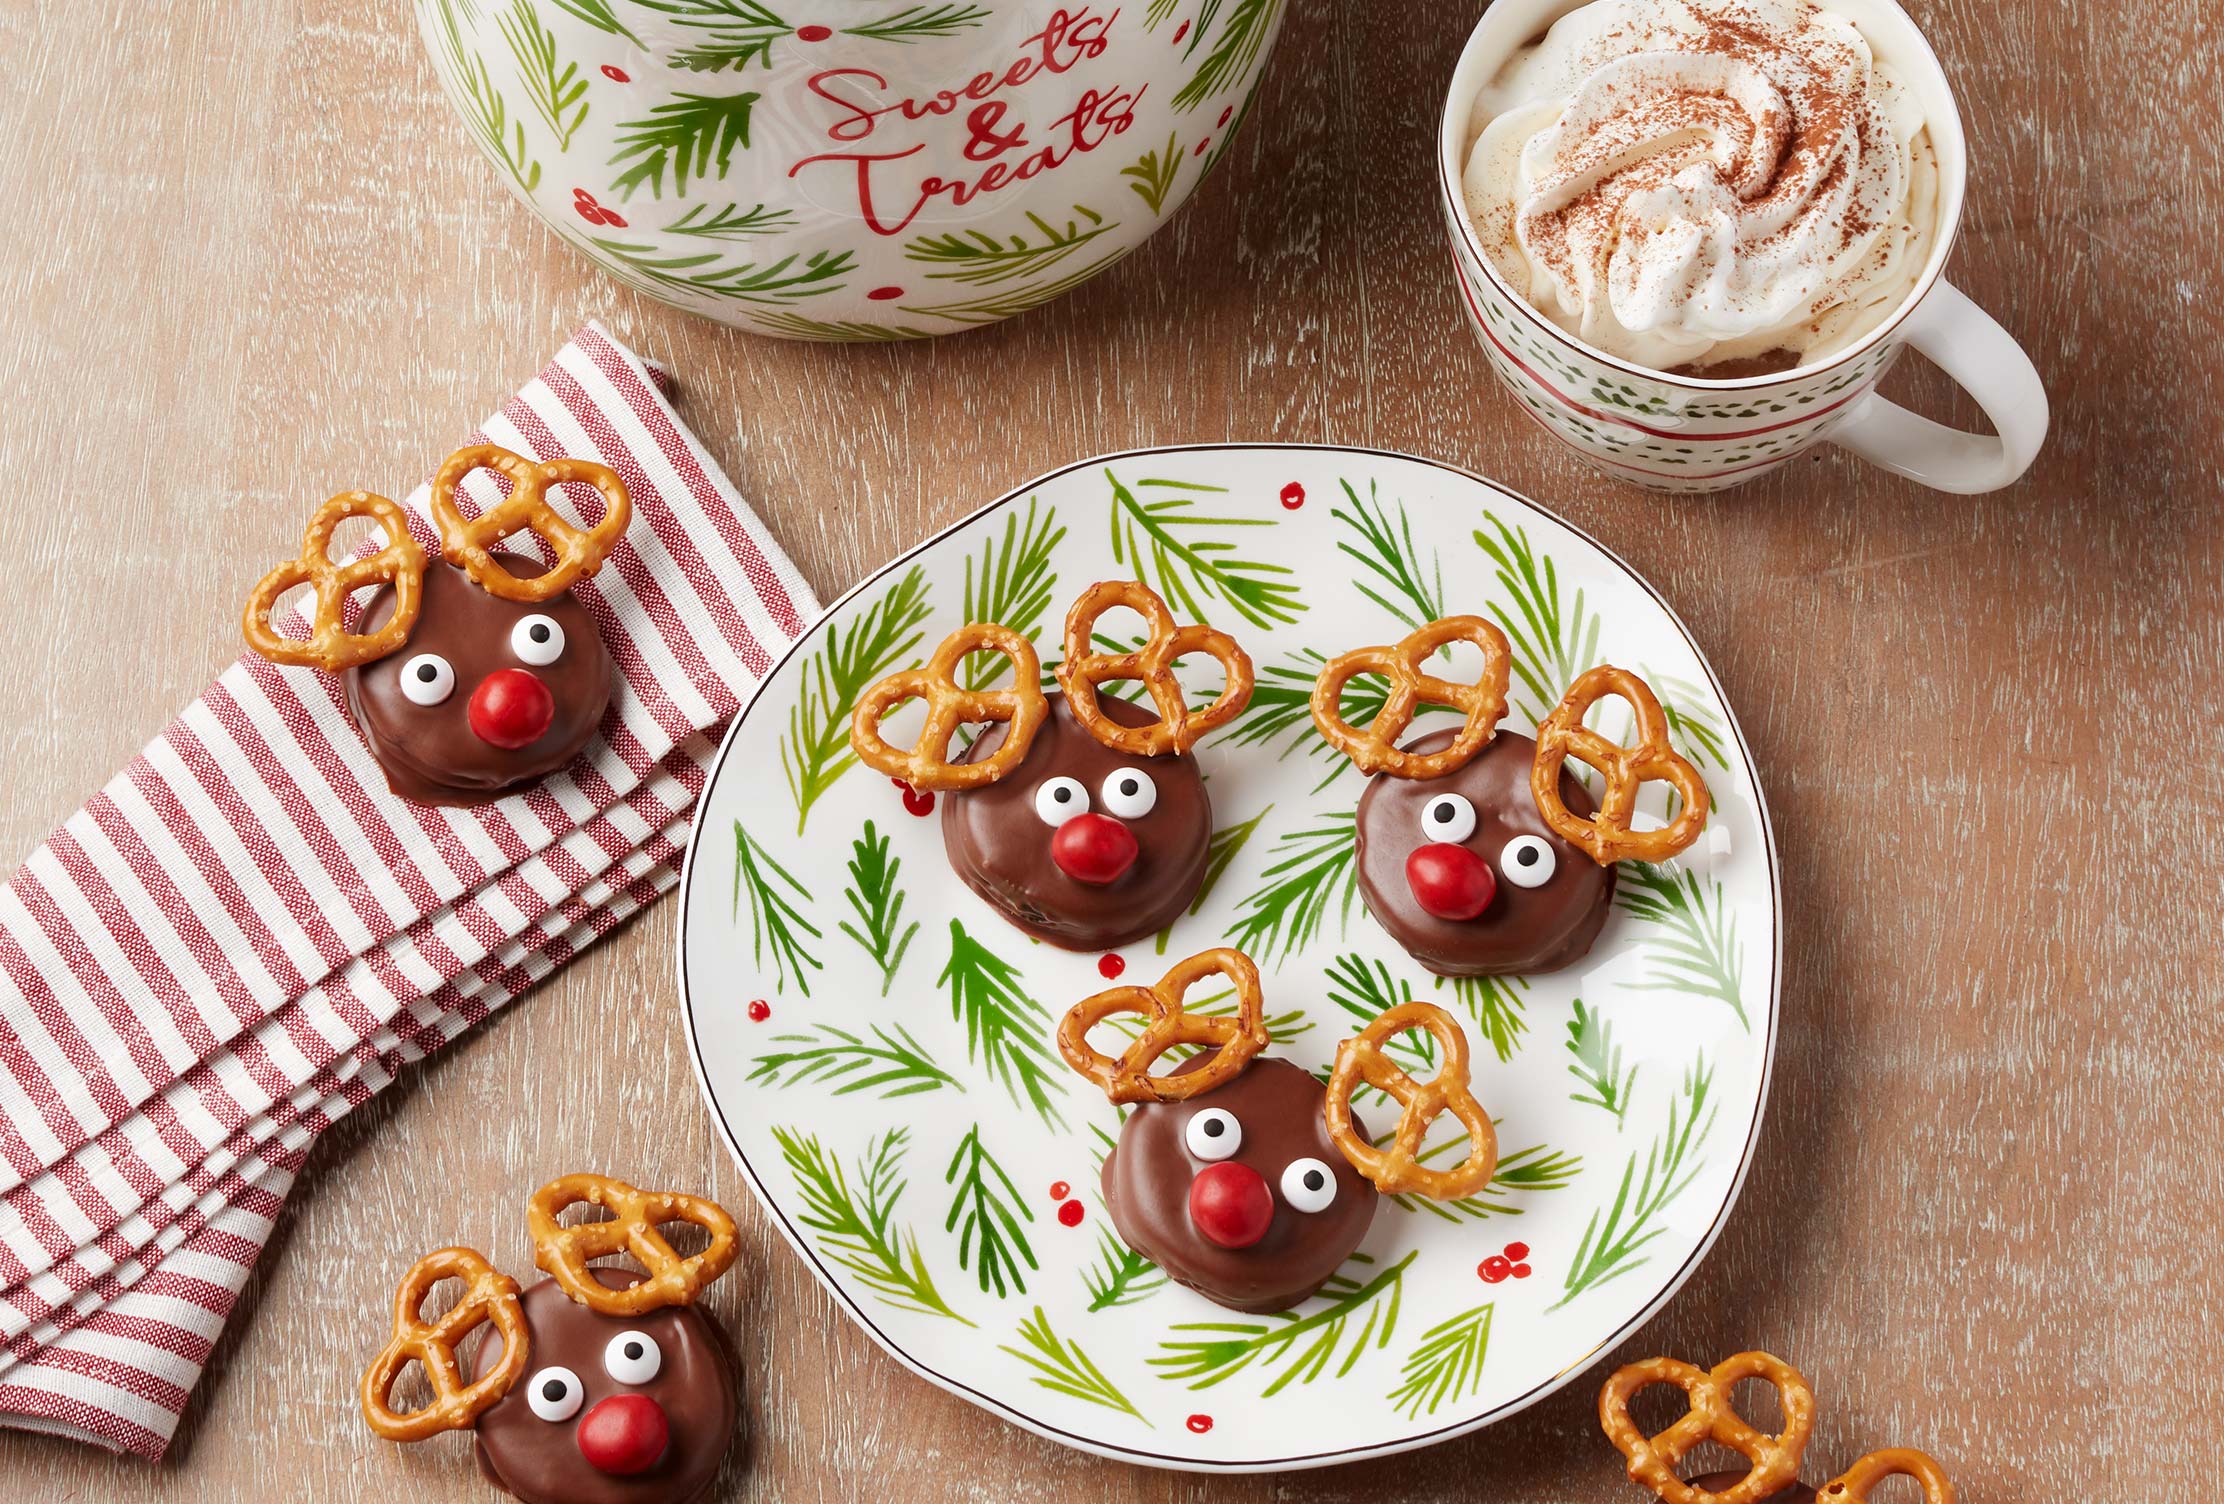
No time? No problem! Perfect for those of us feeling the hustle and bustle of the holidays, these no-bake cookies give you maximum merry with minimal effort. And, they’re ideal for making with little ones who want to help out in the kitchen!
Ingredients:
- 10 store-bought Oreo cookies
- 100 grams of milk chocolate or dark chocolate
- 20 mini pretzels
- 10 red M&Ms
- 20 store-bought candy eyes
Directions:
- Melt chocolate in the microwave.
- Dip Oreos into the chocolate and ensure they are coated.
- Place coated cookies onto a plate, platter, or cutting board.
- Carefully press pretzels in place to create antlers.
- Add the eyes and a red M&M nose and your cookies are complete!
Advanced: Gingerbread Snowflake Cookies
There’s something about the spicy bite of ginger that evokes cozy seasonality in an instant. That plus snowflake shapes and hand-frosted artistry take these gingerbread cookies to festive heights rivaling Santa’s sleigh. They aren’t complicated if you follow the recipe carefully, but they do take some time! Set aside a weekend in December to cosplay as Mrs. Claus and bake the sweetest little treats that look as good as they taste. Each is like a unique piece of art!
Ingredients:
For cookies:
- 3-1/2 cups all-purpose flour
- 1 tsp baking soda
- 1/2 tsp salt
- 1 tbsp ground cinnamon
- 1 tbsp ground ginger
- 1/4 tsp nutmeg
- 1/2 tsp cloves
- 3/4 cup (1-1/2 sticks) unsalted butter, softened to room temperature
- 3/4 cup light brown sugar, packed
- 2/3 cup molasses
- 1 egg
- 1-1/2 teaspoons vanilla extract
For the icing:
- 4 cups confectioners’ sugar
- 3 tbsp meringue powder
- 1/2 cup water at room temperature
- 1 tsp vanilla
Directions:
- In a medium bowl, whisk together all dry dough ingredients (except brown sugar). Set aside.
- Using a larger bowl and a mixer, mix the butter and brown sugar together. Then add the molasses, egg, and vanilla to this mixture.
- Add ½ of the contents of the dry bowl into the wet bowl and beat until combined. Then combine the second half of the dry ingredients. The dough will begin to pull away from the sides of the bowl.
- Flour two large pieces of plastic wrap. Separate the dough in half and put one half onto each piece of plastic wrap. Press dough into a large disk shape and wrap them individually. Place in the refrigerator to chill for at least two hours and up to three days. Do not skip this step or the cookies will not retain their snowflake shapes in the oven.
- Preheat the oven to 350°F.
- Place dough onto a floured surface. Flour your hands and a rolling pin. Roll the dough out to 1/4” thickness and use the snowflake-shaped cookie cutter to create snowflakes.
- Place cookies 2” apart on baking sheet lined with parchment paper.
- Bake for 10 minutes; the cookie bottoms should be golden brown. Allow them to cool on the baking sheet for 5 minutes then transfer the cookies to a wire rack to cool completely before decorating with icing.
- To make icing, mix powdered sugar and meringue powder together with a mixer on a low setting.
- Slowly add water and then vanilla extract while mixing on low.
- Increase the mixer to medium-high speed for 5 minutes until frosting creates peaks.
- Add an additional 4-5 tablespoons of water 1 tablespoon at a time until the icing thins.
- Pipe icing onto cookies in unique decorations and allow icing to harden.
- Share with loved ones and enjoy!